
How to Add Missing Battery Icon on Windows 10 – Wisdomiser
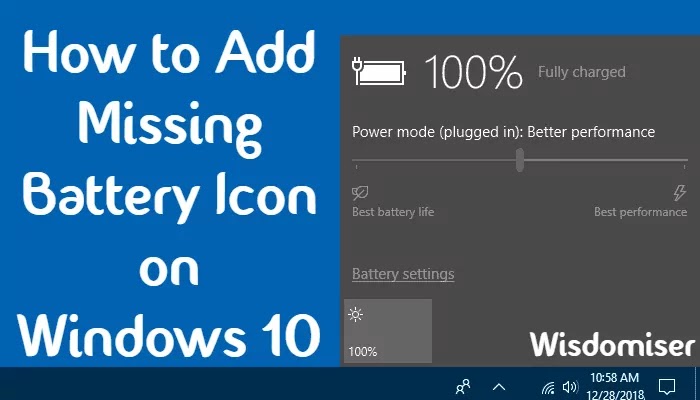 |
| How to Add Missing Battery Icon on Windows 10 |
If you are using a laptop or tablet device, Windows 10 displays a battery icon on the notification area on the Taskbar. The battery icon on the notification area shows the current battery percentage of your device. If you can’t see a battery icon on the notification area on Windows 10’s taskbar, then it may be hidden or disabled. To restore or to Add a missing Battery Icon on Windows 10 follow these methods or steps:
Check if the Battery Icon is hidden or not:
To check the battery icon in the notification area or system tray click on the up arrow
button located on the left of your notification icons on the taskbar to reveal
the hidden notification icons of your system.
If you see
the battery icon in the hidden icons group, just hold and drag the battery icon
on the notification area.
If you didn’t see the battery icon on the notification group, then follow the below methods to add a battery icon on the notification area.
How to Add a Missing battery Icon using Taskbar
Settings:
To add
battery icon using Taskbar Settings, then follow the below steps.
1.
Right-click on an empty space in your Taskbar and then select Taskbar Settings.

2. A new
settings window will be opened. Scroll down and click on “Turn System icons on
or off” settings under notification settings.

3. Now,
locate the Power toggle switch and turn it on.

That’s it.
Now battery icon will reappear on your Taskbar.
If Power
Toggle is grayed out, in this case, Windows 10 thinks that you are using a
desktop or a PC without a battery. To fix this issue follow the below steps.
How to fix the grayed out battery icon:
The simple
way to fix this issue is to make your laptop to recognize the battery by
scanning for any hardware changes. By following this method Windows 10 will
recognize the hardware part and re-enable the battery icon in the notification
area.
Scan for Hardware Changes:
1. Right
Click on the Windows Start button, and then select ‘Device Manager’.

2. In the
Device Manager window, click on ‘Scan for Hardware Changes’ icon.

3. After
scanning for hardware changes, Restart your computer.
That’s it.
After booting up the device battery icon appears on the notification area.
After
restarting your device, if you can’t find a battery icon on the Taskbar then follow
the below method:
Disable and Re-enable Battery Hardware:
If the above
steps didn’t work for you then try to disable and re-enable battery hardware in
Device Manager.
WARNING: Before you start this process, CONNECT your device to
External power.
Follow the
below steps to disable and re-enable battery hardware.
1. Open
Device Manager.
2. In
Batteries Category, You’ll find two or three items.
>
Microsoft AC Adapter.
>
Microsoft ACPI-Complaint Control Method Battery.

3.
Right-click on ‘Microsoft AC Adapter’ and click on Disable device.

A window
will appear asking you if you are sure you want to disable the selected device.
Select the
‘Yes’ option.

4. Again
Right-click and disable ‘Microsoft ACPI-Complaint Control Method Battery’
device.
5. After
disabling both devices, Right-click on each device and enable.
6. Now
restart your system.
After
booting up your system, Battery Icon should appear on your Windows Taskbar.
Conclusion:
These are the steps you need to follow to add or replace a missing Battery icon on Windows 10.
Related Posts:
Netflix Secret Codes to
Unlock Hidden Genres Categories for Movies, Series and TV shows – Wisdomiser
The Step-By-Step Guideto Join Adobe Affiliate Program - Wisdomiser


No comments